How Important Is Protecting Your Knees in Yoga Practice? Here Are the Techniques and Methods You Need to Know
Maintaining yoga poses safely requires attention to detail, particularly regarding your knees. Common advice includes avoiding pushing your knees too far outwards, and immediately exiting a pose if you experience pain. These precautions are crucial because improper technique can easily lead to injury, especially to the knees.
The knee joint is the most important and most vulnerable joint in the body. It acts as a ‘carrier,’ supporting the entire body’s weight during everyday activities like walking, bending, running, squatting, and sitting, significantly increasing the risk of injury.
Here are some tips for keeping your knees safe while practicing yoga:
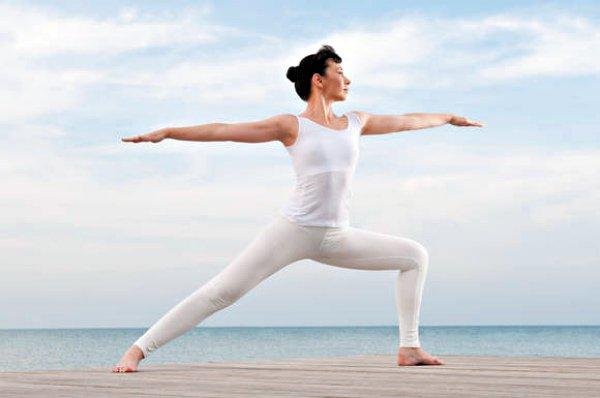
- 1, Warrior II
- Warrior II is a standing pose that’s also a great hip opener. It’s easy for your knees to misalign in this pose, which can lead to unnecessary pain or strains. This pose effectively strengthens the muscles surrounding the knee joint, which is vital for maintaining healthy joint function.
- When entering the pose, focus on keeping your front knee aligned over your ankle. Your kneecap should be in line with your second toe. If you’re just learning the correct knee alignment, use your hand to gently guide your kneecap towards that line. We all have a tendency to rotate inwards, so actively adjust your kneecap towards the outer edge of your foot to align it with your second toe.
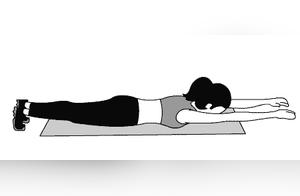
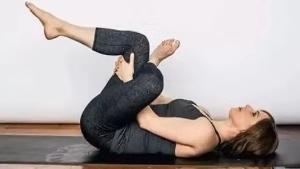
- 2, Pigeon Pose (from Knees Down)
- When entering the pose, bend your toes toward your knees. Find the optimal angle that suits your body. If your knees are sensitive, consider tilting your knees slightly away from the room. If not, draw your knees forward to increase the stretch. Carefully manage the pressure applied during the stretch to find the balance between comfort and exertion.
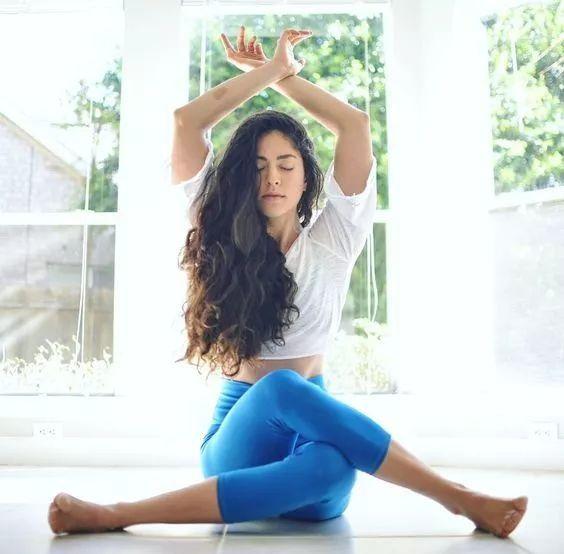
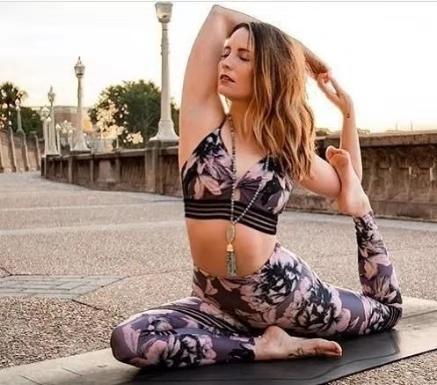
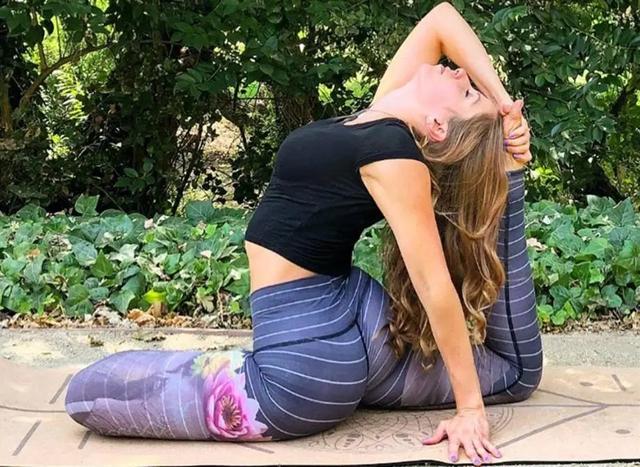
3, King Pigeon Pose
Utilize props to enter this pose. It’s crucial to distribute weight evenly across your hips to prevent excessive pressure on your knees. Finding the correct angle for your front knee is also essential for injury prevention.
When entering the pose, point the big toe of your front foot toward your knee. Adjust the angle and position of your front ankle as needed. This is a common source of knee pain in this pose. If your hips are tight, bring your front ankle closer to your pelvis. If your hips are open and relaxed, adjust your knee angle and position your front ankle closer to your hand wrist. Foot movement is a contributor to front knee angle, making it related to discomfort in this pose as well.
When you find the optimal angle, perform a small movement: close your eyes, and then draw both knees together. This sounds odd, as one knee bends and faces forward while the other extends backward, but forcefully pull them together. This will force your hips to bear more of the body’s weight and straighten the body, relaxing the knees.
Finally, knee pain in this pose may stem from extended legs. If this is the case, grasp the back of your rear foot to alleviate weight and reduce stress. Ensure your legs point straight back.
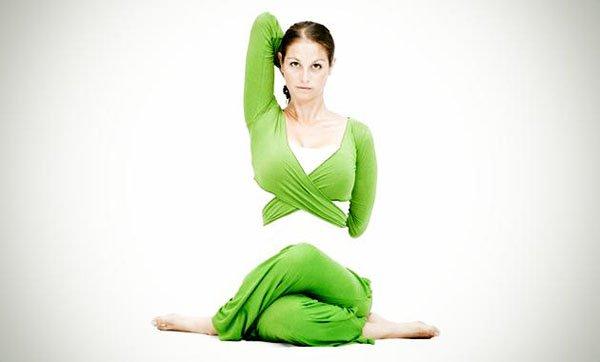
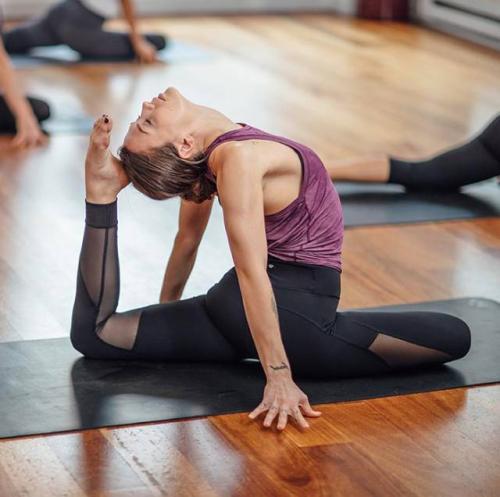
4, Cow Face Pose
This is one of my favorite hip openers, but it’s often uncomfortable. If you know you have a knee injury, avoid practicing until your condition improves. If you’re sensitive but without pain, try to find your optimal position using props.
Use blankets, yoga blocks, or a mat to elevate your hips to the same level as your knees. Or experiment with different heights to see what feels best for your body. Another key technique for keeping your knees safe in this pose is to work one leg at a time, straightening the front leg and working the back leg. With an open hip, your knees may have more flexibility, allowing you to simultaneously exercise both legs. Finally, if there’s a large space between your knees, place a blanket beneath your thighs to reduce pressure.
Because your knees won’t immediately tell you if you’re stretching too far, be sure to pay attention to your knees throughout your practice and notice even the slightest signals.
4