Making Peanut Butter Cookies at Home: A Delicious Recipe for Almost-Expired Peanut Butter
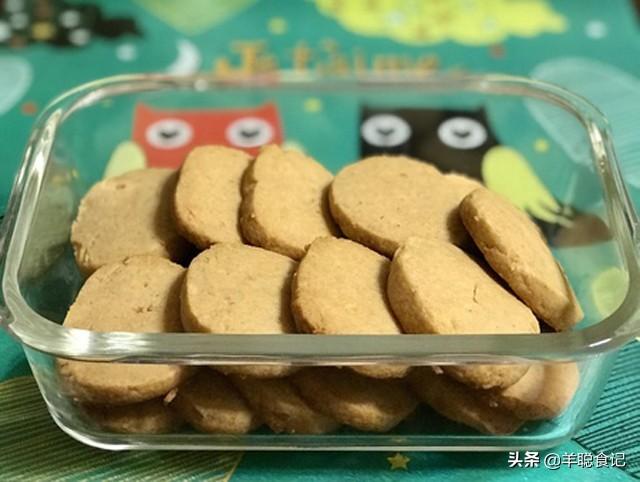
A homemade peanut butter cookie, perfect for using up almost-expired peanut butter - they're deliciously buttery and crispy!
I've always preferred peanut butter cookies with a strong aroma, so I've made these extra-fragrant peanut butter cookies. They're rich in flavor and crispy. Best of all, they're easy to make and use up nearly expired peanut butter!
American-style peanut butter cookies usually have a slightly soft center, but I prefer them all crispy, so I adjusted the baking time to achieve my desired texture.
The peanut butter in my recipe contains sugar and salt, but it doesn't taste very sweet when eaten.
Okay, now let's share the recipe for peanut butter cookies with you. Give it a try after you've read it!
Peanut Butter Cookies
Ingredients: (approx. 22 cookies)
52g unsalted butter (softened, able to be pressed with your finger)
35g granulated sugar, 35g brown sugar
25g eggs, 25g (at room temperature, whisked)
105g peanut butter, 100g medium-strength flour, 1g baking powder, 0.7g salt
My baking sheet is 42 x 34 cm, which can bake 30 cookies at a time.
Method:
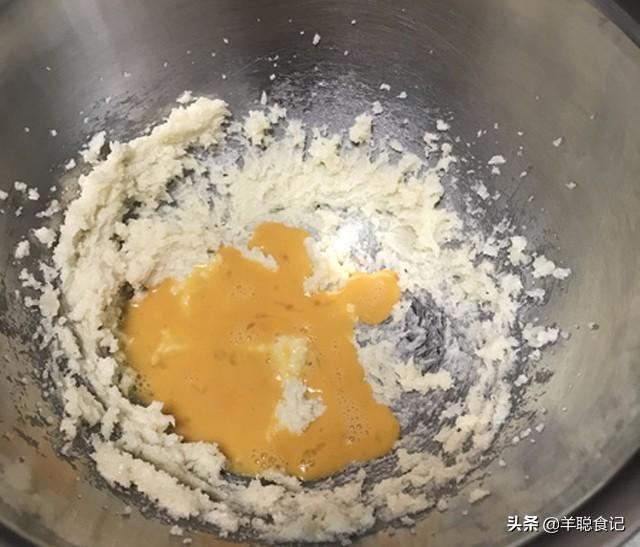
Mix the unsalted butter and sugar with an electric mixer on low speed until the butter turns a paler color and has a fluffy texture.
Add the egg liquid and mix until fully incorporated, mixing until the egg and butter are completely combined.
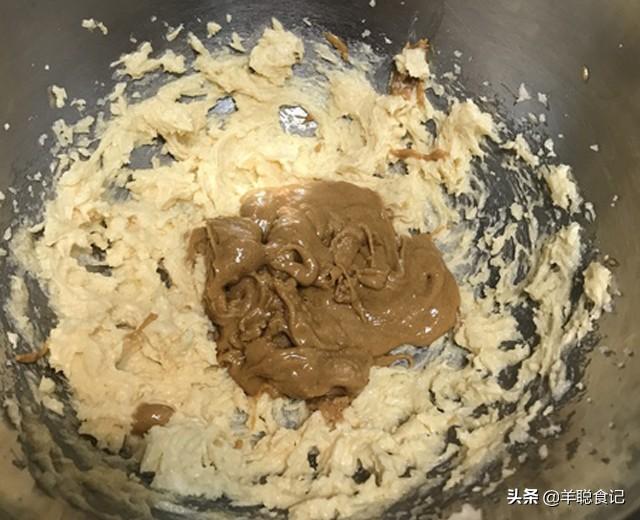
Add the peanut butter and mix until combined - don't overmix.
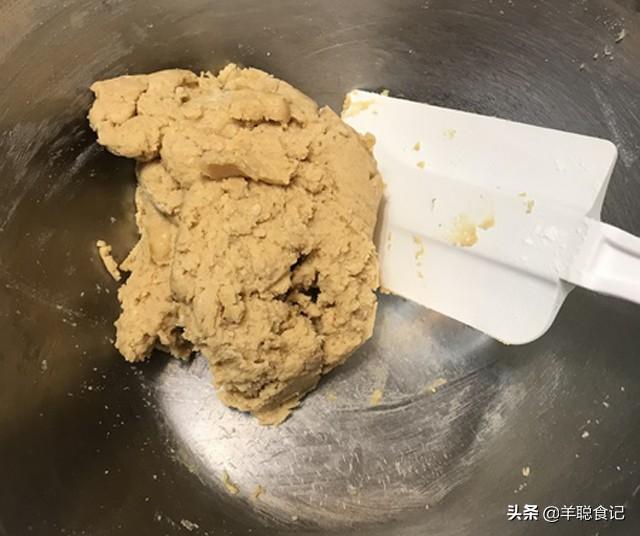
Add the medium-strength flour, baking powder, and salt, and mix with a spatula by pressing to combine evenly.
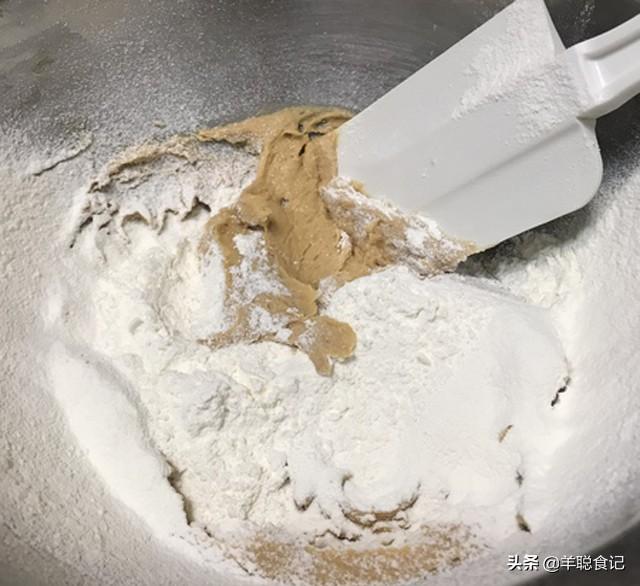
The dough is complete.
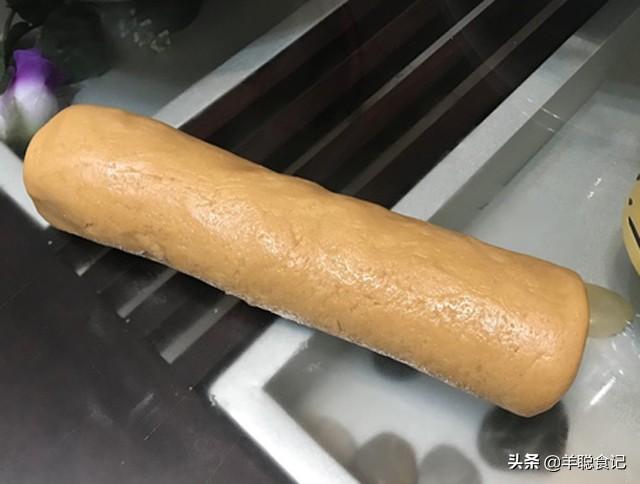
Place the dough on a clean surface and form into cylinders about 3-4cm in diameter. You can also shape it according to your preference. Because the dough is initially loose, you need to shape it while pressing it to make the center firm.
After shaping the dough, wrap it in baking paper and seal it, then refrigerate for 2 hours to harden the dough before slicing and baking.
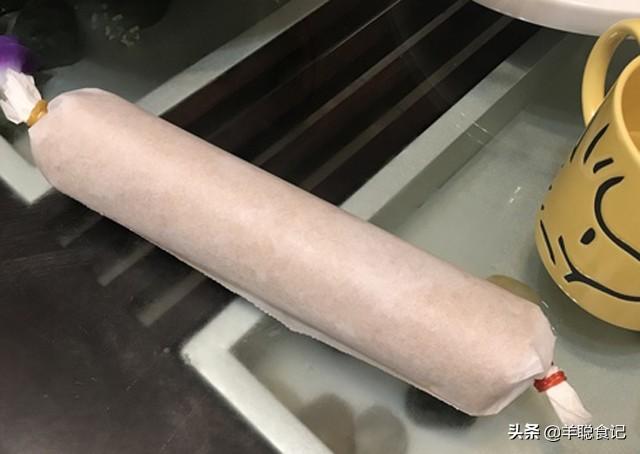
If you're short on time, put it in the freezer until it's hard enough to cut easily.
If you really want to seal it well and prevent it from absorbing the refrigerator odor, you can freeze it for 2-3 months.
When baking, let it sit at room temperature for 10-15 minutes before baking, so the knife can cut it easily. Don't let it sit at room temperature for too long, or the dough will be too soft and difficult to cut.
Baking:
Preheat the oven to 170°C.
Take the dough out of the freezer and let it sit at room temperature for about 10 minutes.
Line the baking sheet with baking paper.
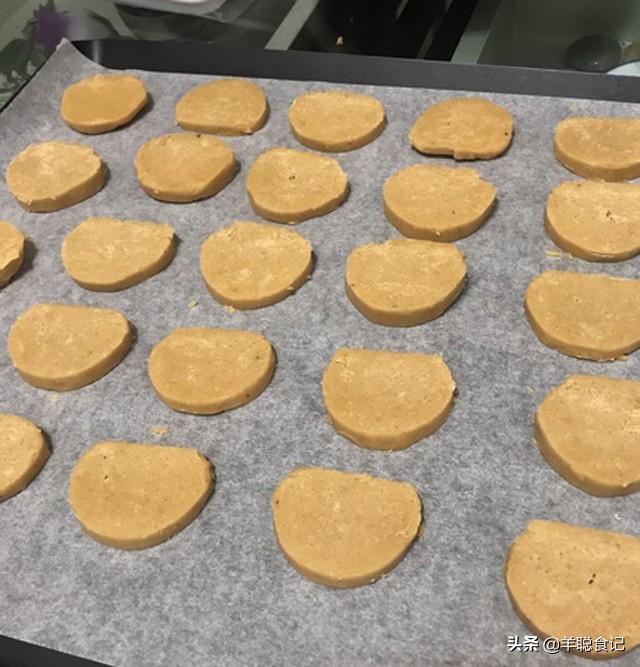
Cut the cookies into slices about 0.8cm thick.
When placing the cookies, don't pack them together, leaving at least 2cm of space to prevent them from expanding and sticking together when baking.
Place it in the middle rack of the oven.
170°C/160°C for 18 minutes, and turn the baking sheet halfway through.
The time and temperature for baking, and the timing of turning the baking sheet, will depend on the thickness of the cookies, the characteristics of the oven, and the material of the baking sheet.
Take the baking sheet out of the oven as soon as it's finished.
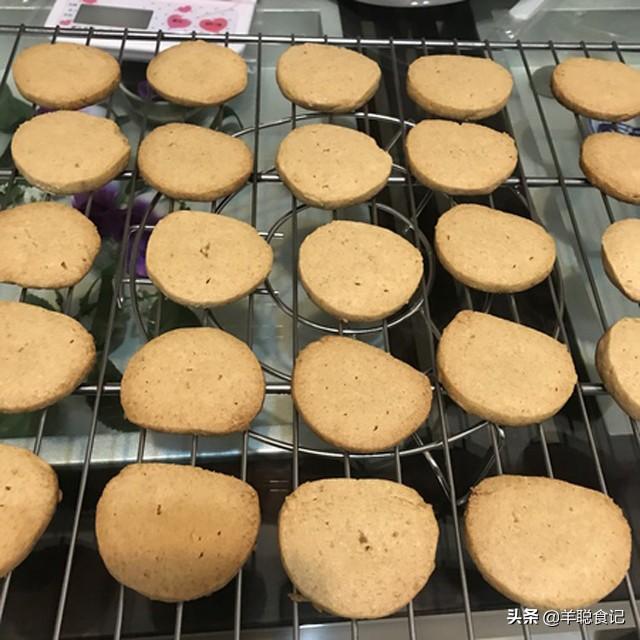
When freshly baked, the cookies are soft, and they will harden when cooled. Use a spatula to pick up the cookies and place them on a wire rack to cool, and keep the wire rack at least 10cm away from the table to prevent moisture from seeping back in.
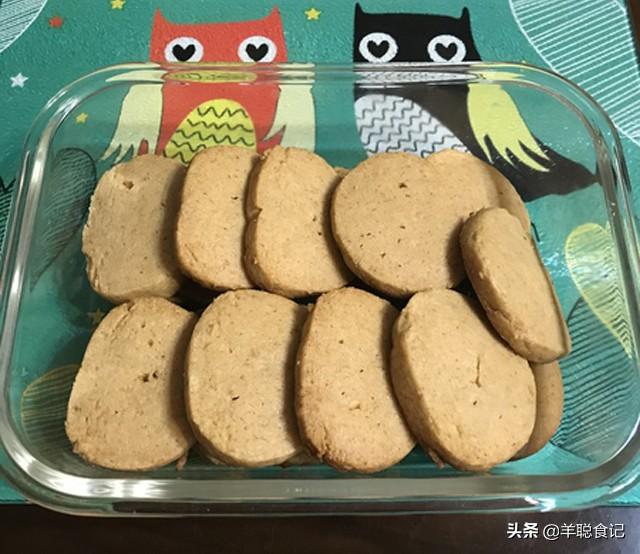
After the cookies cool, seal them in a bag.
The size is just right, enough to eat a piece at a time, it's a lovely afternoon tea treat or a thoughtful gift to give to friends and family.
Tips:
This cookie recipe doesn't have too much sugar, so I don't recommend reducing the amount of sugar or butter further, otherwise it will taste dry and not crispy!
Among them, sugar can be replaced with milk, and baking powder can be added according to your preference.