Making Cold Skin at Home: A Successful First Attempt!
Recently I've been staying home everywhere, nowhere to go, not even leaving the house. Watching so many people online making noodles, I was really eager to try it myself! Like the popular fried dough sticks (you tiao) and cat ear snacks, I just regret not taking pictures. This time, I wanted to try making my own cold skin (liang pi) and quickly got to work, taking pictures of every step. I thought, if it fails, I'll look at the photos to summarize the experience, and if it's successful, I'll share my method. I didn't expect it to actually work! I'm so happy!
For someone who really loves cold skin, especially in the summer, I usually buy a portion every day. Because I thought making cold skin was really difficult, probably with a lot of ingredients added! I never even considered making it myself. This special period has brought out so many people with good cooking skills!
Let me first talk about my general idea for making cold skin. I had watched a lot of methods and videos online, but because I didn't have confidence in myself, I didn't follow the specified amounts. For me, it's like a willow tree growing out of nowhere. So, I'm sharing my process without using specific weights, because I didn't use a scale. If you're interested, just take a look at my method and the important tips!
Handmade Cold Skin
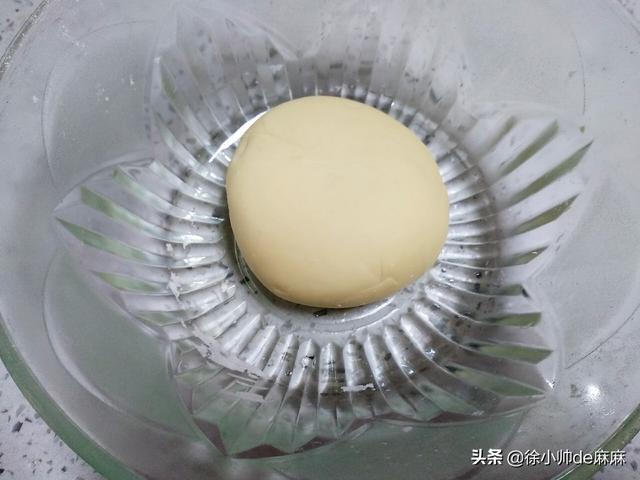
Kneading the dough: a bowl of flour, a small spoon of salt. First, put the salt into the flour and mix it, then pour a small cup of cold water with one hand slowly, and with the other hand, mix the flour into a fluffy mass. Then, knead the fluffy dough into a large dough ball, and let it ferment for 1 hour.
Note:
1, The water for kneading the dough must be cold water;
2, The dough you make is a little dry, it shouldn't be soft;
3, Salt must be added, just a little is enough;
4, The fermentation time cannot be too short.


Handmade Cold Skin
Washing the dough
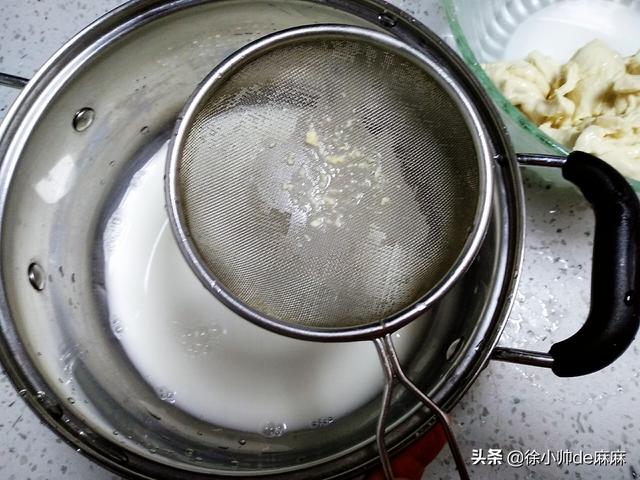
Washing: Put a little cold water into the dough first, rub the dough with water, and pour the water into the prepared large pot until the water turns clear.
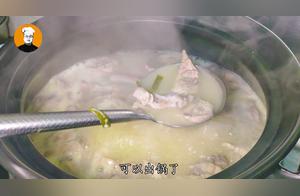
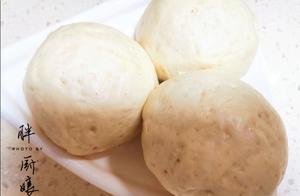
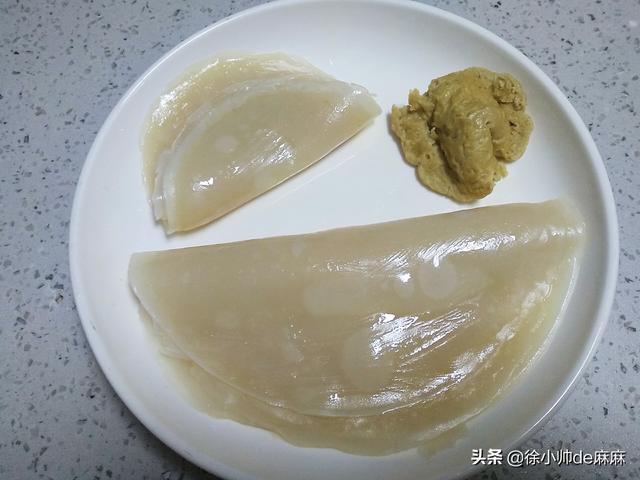
Continue kneading the dough with water until the water turns clear. The remaining dough is gluten. Steam it to make gluten.
Note:
1, Pour the washing water into the prepared large pot, must be filtered, filter out the large particles;
2, You can prepare several large containers, the dough must be washed without color;
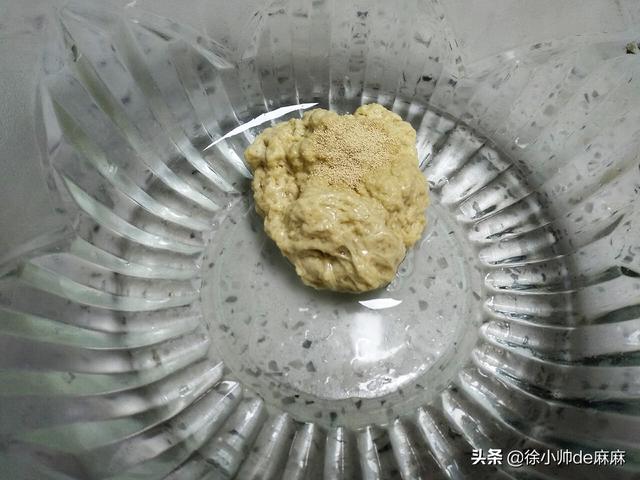
3, Add a little yeast to the washed dough and let it ferment, then steam it to make gluten.
4, Leave the washing water aside, let it settle for 4 hours.
Handmade Cold Skin
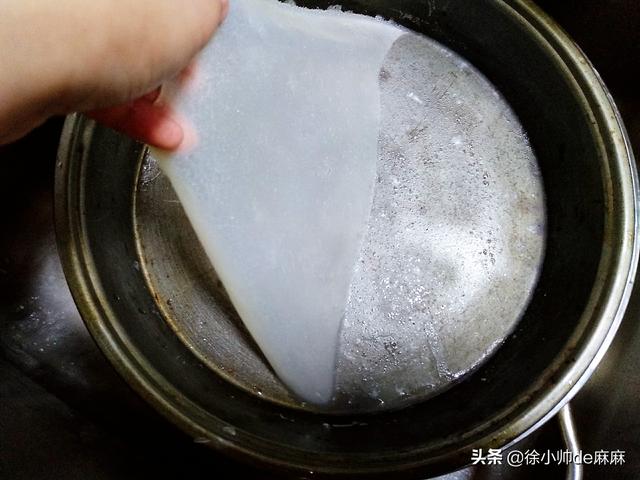
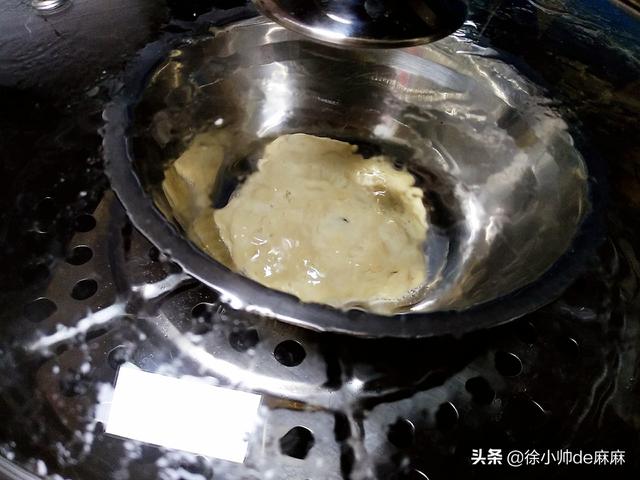
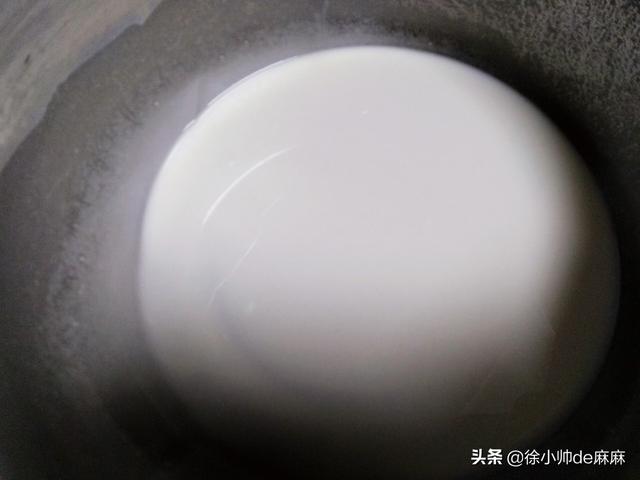
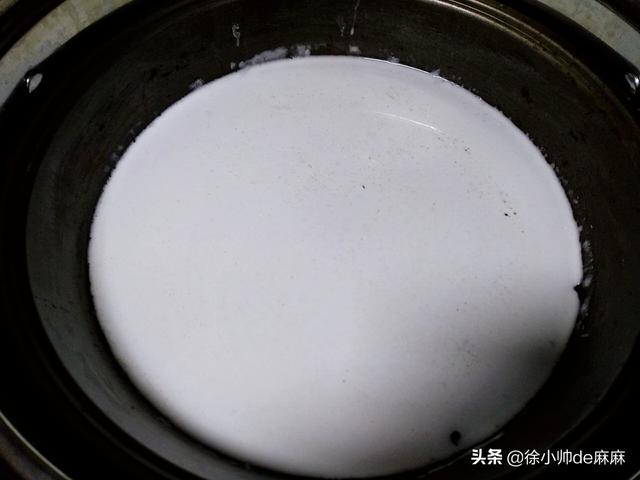
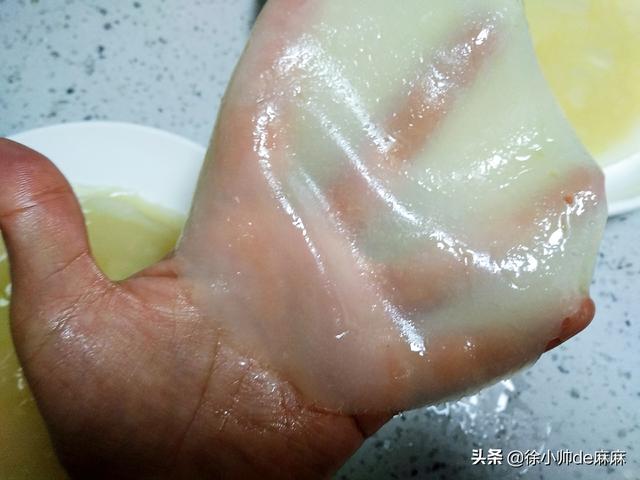
Steaming the cold skin: The washed washing water will layer up and down, the upper layer is water, the lower layer is sediment. Slowly pour the upper layer of water out, leaving the lower sediment. Mix the lower sediment, you will see the water becomes a little thick. Prepare a slightly larger stainless steel bowl or 8-inch baking pan, first brush the bottom with oil, pour in the washing water, and put it into the steamer to steam it. Then put the steamed cold skin into cool water to cool it off.
Note:
1, You don't need to pour out all the upper layer of washing water, just leave a small section of water, otherwise the sediment will be too thick, and the steamed cold skin will be too thick;
2, The oil brushed on must be cooled cooked oil;
3, You must use boiling water to steam the cold skin, when you see the container turning color, don't need to see it form a big lump;
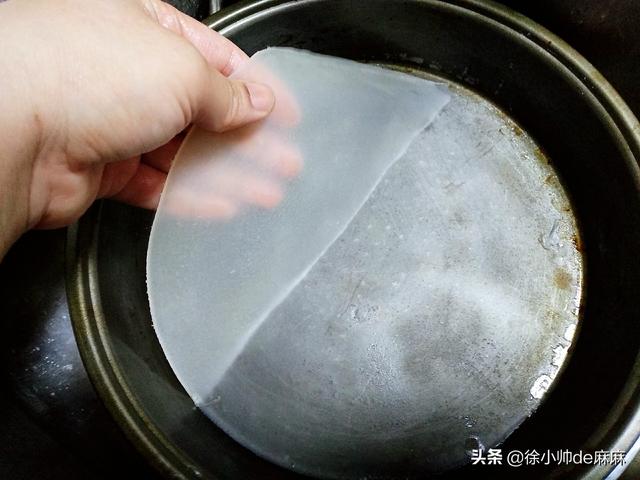
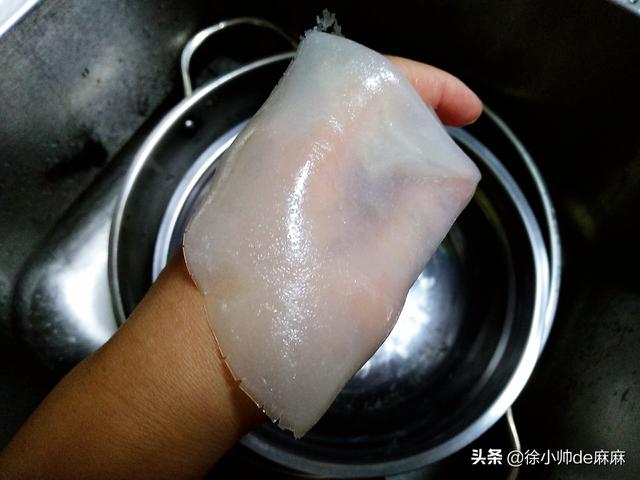
4, Quickly put the steamed cold skin into cool water to cool the bottom;
5, Before re-pouring the washing water, you must brush oil, brush oil every time.
6, Use a transparent steamer, convenient for observation.
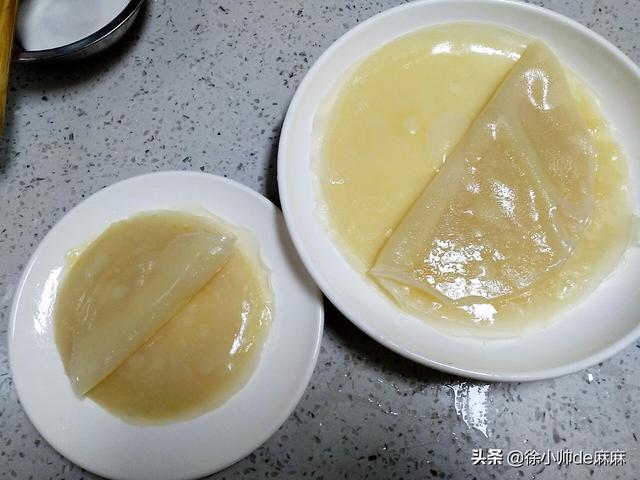
7, When placing the cold skin, you must brush oil directly on the cold skin, place it to prevent sticking.